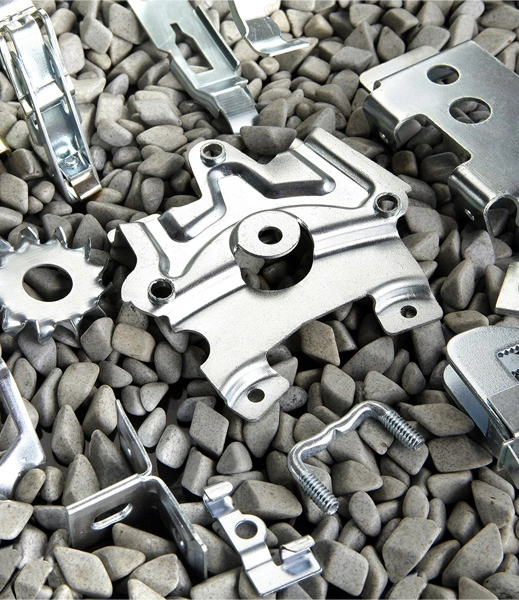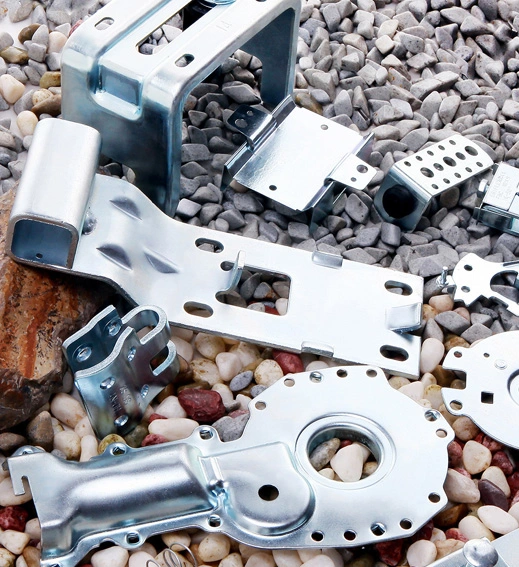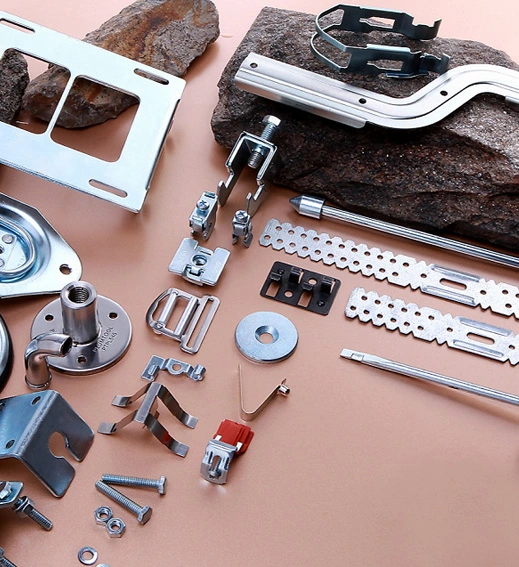

Material: Aluminum/carbon steel/stainless steel
Surface: Mirror finish /powder coating/sand blasting
Customized Size
Main Process: cutting, bending, welding
Tolerance: ISO 2768-m
There are several main methods for inspecting welds:
1. Radiographic testing: This is a widely used method that uses radiation to make the film photosensitive. The processed photographic film will display images of defects in the weld seam.
2. Ultrasonic testing: The advantages of this method are high sensitivity, high efficiency, and low cost, but the accuracy is not very high.
3. Penetrant testing: Penetrant testing is a non-destructive testing method that uses the penetration effect of a penetrant with fluorescent or red dyes to display defect traces.
4. Magnetic particle inspection: Magnetic particle inspection is the process of magnetizing a welded piece in a strong magnetic field, allowing magnetic field lines to pass through the weld seam. When encountering defects on or near the surface of the weld seam, magnetic leakage occurs, attracting magnetic oxide powder scattered on the surface of the weld seam.
5. Kerosene test: Apply white paint on one side of the weld seam, wait for it to dry, and then apply kerosene on the other side. If there are minor cracks or penetrating pores in the weld seam, kerosene will penetrate and show obvious oil spots on one side of the paint, revealing the defect location.
6. Penetration testing: Penetration testing is a non-destructive testing method that uses the penetration effect of a penetrant containing fluorescent or red dyes to display defect traces.
7. Dyeing inspection: It belongs to non-destructive testing. Its principle is similar to that of fluorescence testing, except that defects are displayed by replacing fluorescent powder with colorants.
8. Appearance inspection: The appearance inspection of welded joints is mainly based on direct observation with the naked eye. Generally, a universal welding gauge can be used, and if necessary, a 5-10 times magnifying glass can be used for inspection.
9. Tightness inspection: Check whether there are non dense defects in the welds on welded pipelines, containers, and sealed containers.
The above are the main methods for inspecting welds.


